We’ve already discussed on the blog where to practice. There are many opportunities in Budapest and plenty of locations, but that’s not the point. You can even practice at home. After all, with a little creativity, you can adapt almost any space for movement. Of course, there are some special tools, machines at the gym, space at home for dancing, flooring, mirrors, but I believe motivation is what you need most. Either you can commit to it in your familiar environment and not let yourself be distracted by the Bermuda triangle of couch-book-TV-fridge-dog-cat-anything, or you can’t. That’s why they open gyms. And dance studios too. 🙂

The gym example isn’t as silly as it seems if you think about it. Everyone has seen those people who “go to the gym” but end up wandering between machines, chatting here, checking their phone there, striking a pose in front of the mirror, and then hitting the smoothie bar. It’s something that nobody else understands, leading to laughter and memes.
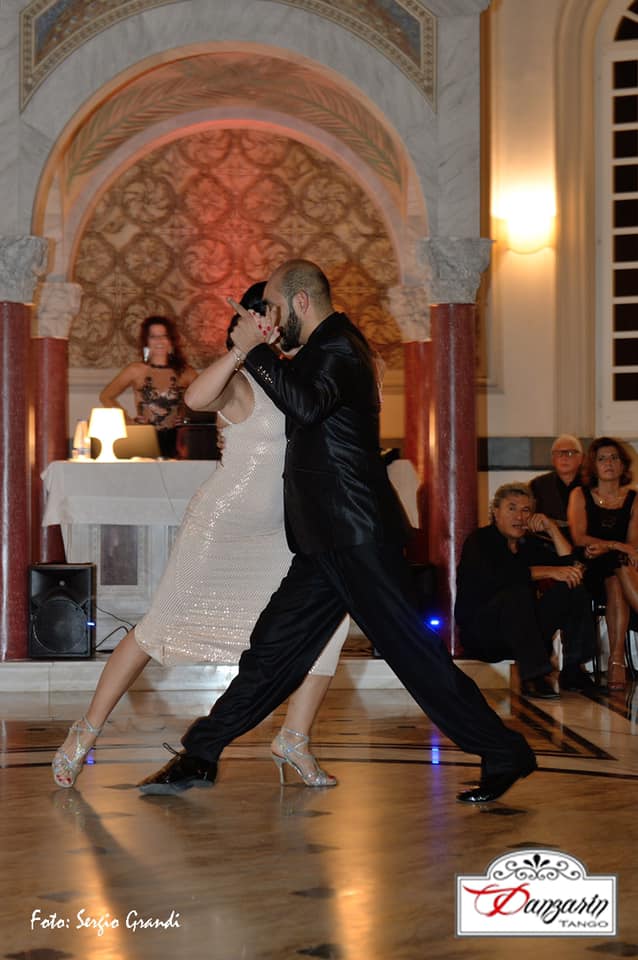
Tango is exactly the same. You go to practice because you want to improve in something. You want to work on, or enhance, one or more elements of your dance.
If you are a beginner or intermediate dancer, have a plan for your practice sessions. Here are some tips to help you.
First of all, you don’t necessarily need to bring a partner to practice; there are often free “valences” available. But not always. And also consider that the person you might find could be at a different level or focusing on different aspects of their development. So, finding an ad-hoc partner is possible, and it’s much better than not practicing at all. But if you can, coordinate with someone you know you can get the most out of at your current level.
0. Technique
Step zero: arrive before your partner (or arrive together but start separately). Stand in front of the mirror and review what you’ve learned in technique classes. Do several exercises. Repeatedly. Focus on posture, pivots, ochos, giros, boleos, and any other elements you think are important. Reflect on the instructions you’ve received for executing them. Practice the movements on the side that’s more difficult for you. And be patient. These things take time. It may not be performance-ready right away, but it will get better each time.
1. Walking
15-20 minutes is enough (for one day 
Then continue with walking. In tango, walking is one of the most learnable and perfectible techniques. Focus on all the details: posture, connection, projections, pushing, landing, rolling, foot usage. So many small details. Scan your body. If you feel your movement falling apart somewhere, fix it. Again and again. This is how your body will learn what it needs to do. After a few weeks or months, you’ll suddenly notice that it’s much better. 4-5-6 songs. You don’t need more, but you do need that many. To get settled into it.

And if you feel you’re already in control of your walk, move on to the music, still walking. (We previously wrote about where to find selected tango music.)
2. Music
Choose shared rhythm patterns and vary them. Pay attention to the orchestra playing. Choose rhythm patterns that fit the music. Don’t hesitate to count along, it helps with retention. Yes, in tango, we improvise, we don’t dance fixed rhythms. But to master the music and your body, you need to learn different variations, which will then come naturally at a milonga. Because you’ve encountered them many times before, and you’ve stepped to them many times.
3. Basic Structures
Continue with the basics. Ochos, giros, sacadas, anything. Many times, over and over. Pay attention to every movement. Where is it uncomfortable? Where does it hurt? Both of you have your own work to do with it. Both of you should focus on your own movement. Give each other feedback.
4. Class Material
Then you can smoothly transition into the material from the class. From memory, notes, or class videos. Practice it a lot because that’s how it sticks, and you’ll be able to use the entire sequence or elements of it in free dance. Keep giving each other feedback. What went well and what didn’t? If it gets stuck, tightens, hurts, or throws you off balance, then something is likely off. Come up with different entries and exits. Connect them. How can you transition from one to the other?

And this is where the role of teachers in practice sessions comes in. They’re really there to help. Don’t hesitate to ask them questions. Shamelessly.
I think it’s worth spending 15-20 minutes on each of the above points. Everyone has different needs, but don’t skip any of them.
5. Free Dance
And once you’ve done all that, it’s time for free dance. Do as much as feels good. Give yourself the joy of (finally) doing things that give you a sense of accomplishment. But also incorporate the elements you’ve practiced before. And above all, enjoy it.
After all, this is dance!


